GISBox generates models with one click and easily completes format conversion


Converting SHP to 3DTiles can meet the needs of three-dimensional visualization, making two-dimensional SHP data more intuitive and richer in three-dimensional space, and facilitating efficient loading and rendering in modern geographic information systems such as WebGIS.
However, this process also faces many difficulties, such as differences in data formats, complexity of coordinate conversion, and huge data volume. The GISBox software supports uploading SHP files to generate building models with one click, and can also easily convert them into 3DTiles files. The following will introduce the specific operation steps.
1. Introduction to GISBox Software
GISBox is a powerful GIS toolbox dedicated to processing GIS images, terrain data, and oblique photography models. It supports one-stop conversion of multiple GIS file formats, and also has real-time editing, format conversion, and service publishing functions for oblique photography models.
2. Upload SHP files to generate building models with one click
First, make sure that you have downloaded and installed the GISBox software on your computer. You can go to the official website of GISBox to download and install the software according to your operating system type (supports Windows, Mac, Linux).
Open the installed GISBox software, switch to the “Scene” column on the left side of the main interface of the software, click the “New Scene” button in the upper right corner to create a new scene project. You can name the newly created scene for easy identification and management, such as “City Building Model”.

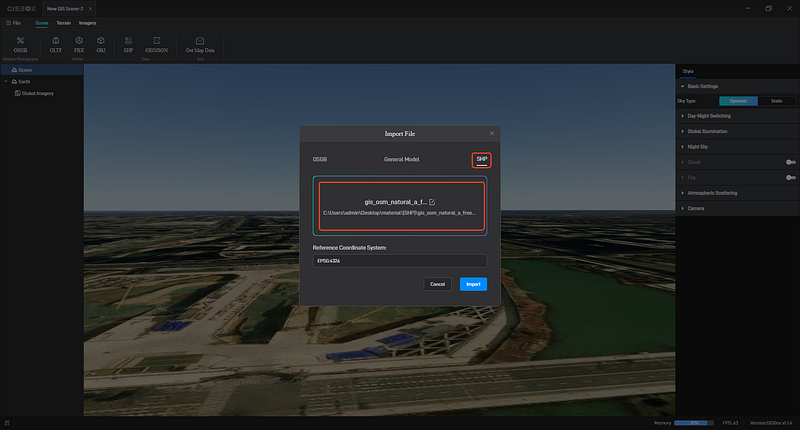
After the scene is successfully created, it will open automatically. At this time, the software will pop up a prompt box to let you select the imported file type. We choose the third type “Import SHP/GEOJSON” and then add the local SHP file.
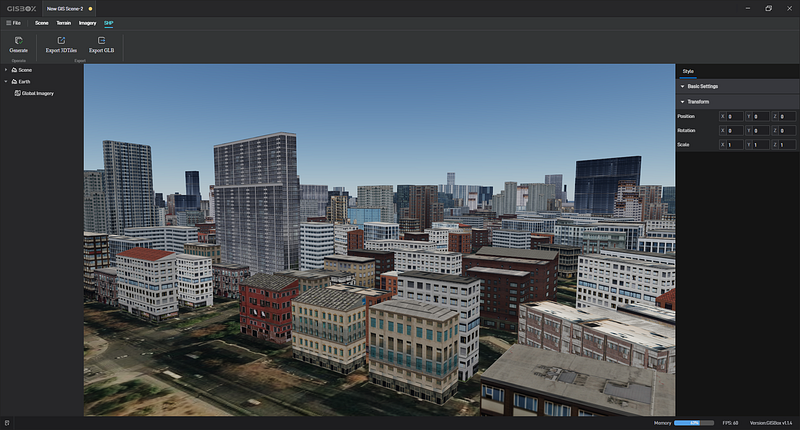
After the SHP file is imported, the GISBox software will automatically generate a building model based on the data in the file. This process may take some time, depending on the computer performance and the amount of data. After the generation is completed, we can use the mouse to switch the perspective freely, rotate the model by holding down the left mouse button and dragging, and zoom in or out the model by scrolling the mouse wheel to observe the structure of the generated building model in all directions.
3. Convert the generated building model into a 3DTiles file
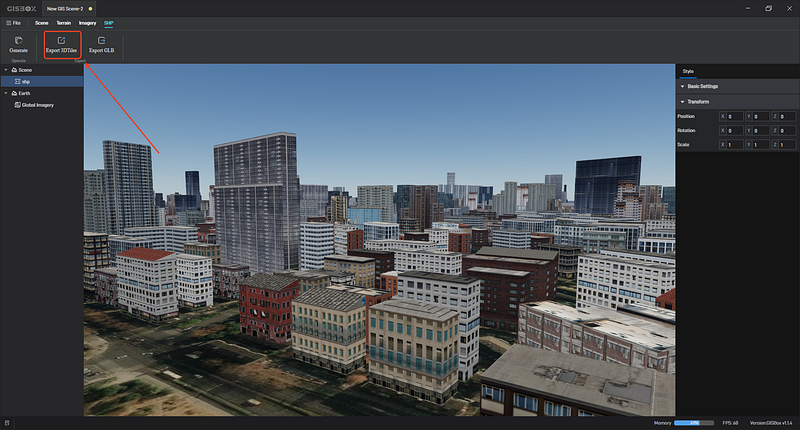
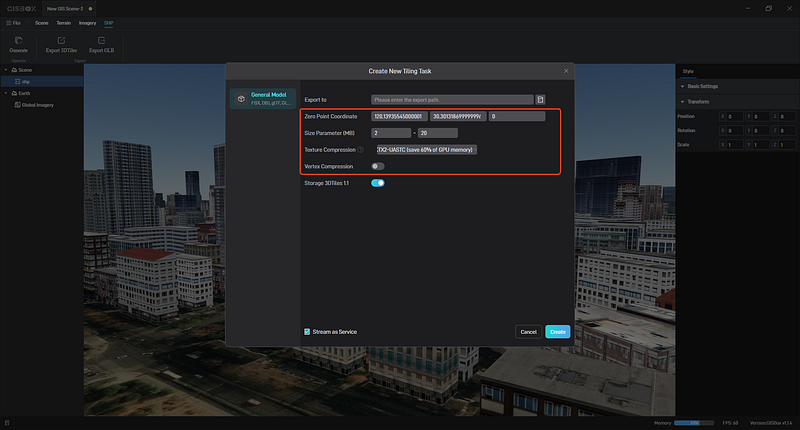
In the scene list on the left, select the generated shp building model, and click the “Export 3DTiles” function above the software interface.
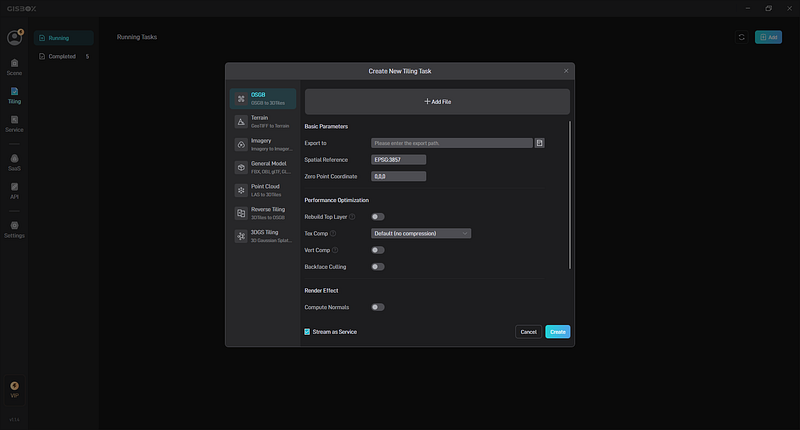
In the slicing task window, we can configure various parameters for file conversion, including the file export path, zero point coordinates, texture and vertex compression settings, etc. You can set them according to your needs. After the settings are completed, click “OK” to start the conversion process.
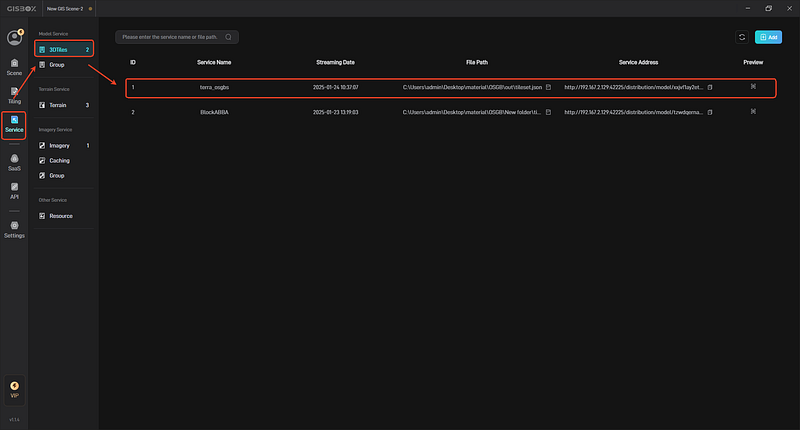
After the conversion is completed, we can find the generated 3DTiles model service in the “Distribution” column on the left side of the software. Click the corresponding file option to view and manage the generated 3DTiles file.
The generated service address can be applied to GIS engines such as Cesium or Cesium for Unreal, or to the digital twin project building platform, such as Shanhaijing visualization.
IV. Summary
The function of generating building models with one click greatly saves a lot of time and labor costs required by traditional modeling methods. It can quickly convert the data in the SHP file into an intuitive three-dimensional model, and then convert it into a 3DTiles file through the slicing function. If you are a practitioner or enthusiast in the GIS field, or someone who is working on a project related to geographic information, you are welcome to download and use the GISBox software.